Welcome to The Pink Kitchen.....where life is fashionably delicious!!!

Sunday, April 15, 2012

Gotta Love Giada

What's not to love about Giada De Laurentiis? Not only is she adorable, but her recipes are amazing, too! I was lucky enough to meet Giada for the second time at her recent book signing at Williams-Sonoma in the  King of Prussia Mall. The signing started at 12:00 and I meant to get there at 11:00, but accidentally overslept. So by the time I got there, the line was miles long. Two and a half hours later, I got to see Giada and get my book signed. She was signing her latest cookbook, "Weeknights With Giada". I have all of Giada's cookbooks, but so far this one is my favorite. Most of the meals are quick and have short lists of ingredients. The "Ham, Gruyere, and Apple Panini" really caught my eye and is the first recipe I chose to make from the book. It's delicious! Gruyere is now my new favorite cheese. It's nutty and a little bit sharp. I would describe it as a cross between Swiss and Parmesan. YUM!


Ham, Gruyere, and Apple Panini (recipe courtesy Giada De Laurentiis)


Ingredients:


2 Tbsp butter, at room temperature
2 Granny Smith apples, peeled, cored and sliced 1/4 inch thick
1 Tbsp chopped fresh thyme leaves
8 (1/2-inch-thick) slices country-style white bread
1/2 cup whole grain mustard
2 cups shredded Gruyere cheese
8 (1oz.) slices Black Forest ham


Directions:


1. In a skillet, melt butter over medium heat. Add the apple slices and thyme. Cook, stirring occasionally, until the apples are slightly soft, about 4 minutes. Cool for 5 minutes.
2. Preheat panini press or panini pan. Spread each bread slice with 1 Tbsp mustard. 
3. Arrange 1/4 cup cheese on two bread slices. 
4. Top with ham and apple slices.
5. Add remaining cheese and place bread slices on top.
6. Grill sandwiches until cheese has melted and bread is golden and crispy. (About 5-6 minutes)


***I made a few changes to this recipe. I used a sprinkle of dried thyme instead of fresh and used fresh Ciabatta bread instead of white bread. If you don't have a panini press or pan, you can use a grill pan and place a heavy pan on top of the sandwiches to press them down while they cook. 


Here's some pictures from the book signing!


Giada signing my book :)

Wednesday, April 11, 2012

Zuppa Soupa

This is hands-down my favorite soup recipe. It tastes just like the Zuppa Toscana soup served at The Olive Garden. If you've never had it, it's a broth-based soup with a touch of cream to balance out the spiciness. Sausage, bacon, potatoes, onion, and swiss chard give it LOADS of flavor. I made it last week and I'm making it again next week. That's how much I love it! I like using swiss chard rather than spinach because it holds up nicer and doesn't turn to mush the next day when you're craving leftovers. You could also substitute kale if you like. It doesn't even need salt or pepper! 


Zuppa Toscana 


Ingredients:


2 Tbsp extra virgin olive oil
1 lb sweet Italian sausage, casing removed
3 strips extra thick bacon (or 6 regular slices), chopped
1/4 tsp red pepper flakes
1 medium onion, chopped
3 garlic cloves, minced
2 1/4 cups chicken stock
4 cups water
2 large russet potatoes, peeled and chopped into bite-sized pieces
3 cups chopped Swiss chard leaves, tough stems removed
1 cup half-n-half


Directions:


1. Drizzle olive oil in a large dutch oven or sauce pan. Add onion and bacon. Cook over medium heat until onion is tender and bacon begins to brown. 
2. Add sausage and break it up with a spoon. Continue to cook until sausage is crumbled and cooked through. Add garlic and red pepper flakes and saute for 2-3 more minutes.
3. Add chicken stock, water, and potatoes. Bring to a boil. Boil for 10-15 minutes until potatoes are tender. 
4. Add chard and let it wilt in the soup. Add half-n-half and simmer a few more minutes to heat through. 


ENJOY!


Friday, March 23, 2012

Stuck in a "Shrimp Rut"

I'm always looking for a different shrimp recipe to try. I typically make Shrimp Alfredo, but I was craving something lighter and fresher. This recipe was perfect to get me out of my "shrimp rut". It's sweet, salty, and just downright yummy! Plus, the toasted coconut sprinkled on top adds a little something extra. I served this over brown rice for a nice weeknight dinner. If you buy shrimp that's already been peeled and deveined, it really cuts back on prep time. 


Spicy Mango Shrimp (adapted from Myrecipes.com)


Ingredients:


3 Tbsp vegetable oil
1/2 onion, chopped
2 garlic cloves, minced
1 tsp red chili pepper flakes
1/2 tsp dried basil
2 Tbsp low-sodium soy sauce
Juice from 1/2 fresh lime, about 1 Tbsp
1 lb. fresh shrimp, peeled and deveined
2 semi-ripe mangos, cubed
1/4 cup shredded coconut, toasted


Directions:


1. Preheat oven to 300 degrees. Place shredded coconut on a baking sheet in a thin layer and bake for 10-15 minutes until golden brown (watch closely as it tends to burn quickly). 
Remove from oven and set aside. 
2. Heat oil in large pan over medium heat. Saute onion until tender. Add garlic, chili flakes, basil, soy sauce, lime juice, and shrimp. Cook shrimp until pink, about 3-5 minutes. Add mango and cook until heated through.
3. Sprinkle with toasted coconut and serve alone or over rice. 


Monday, March 5, 2012

Move Over, Quaker

There's a new granola bar in town! According to one of my new favorite websites, Foodfacts.com, Quaker Chewy Chocolate Chip granola bars contain quite an interesting array of ingredients! Who knew?! First of all, and most alarming, they contain TBHQ. TBHQ is composed of butane, the main component of lighter fluid. YUM! When I typed "TBHQ" into the ingredient search toolbar on Foodfacts.com, over 1300 products were found including different types of potato chips, microwave popcorn, soups, and plenty of other things. I also discovered that the FDA only allows a 0.02% maximum of TBHQ in food because 1 gram can cause nausea, vomiting, tinnitus (ringing in ears), delirium, etc. 5 grams can cause death. Remind me to write a letter to the FDA thanking them for keeping such toxic ingredients out of our food! (Yeah right!) As if the TBHQ isn't enough to scare you off, the Quaker granola bars also contain artificial ingredients and BHT, another wonderful preservative. This is why I will continue to be one of those people in the aisle of the grocery store obsessively scanning the ingredient lists on packages. I refuse to be naive and ignorant to what the fabulous FDA is allowing companies to put in our food. Okay, I feel better know. 


So these are The Pink Kitchen version of Chewy Chocolate Chip granola bars. Minus ingredients that you can't pronounce or cause death. Not to mention, this recipe is going down in history up until now as the most delicious-smelling thing I have EVER made. I'm serious! Take a whiff once you add the vanilla to the butter/sugar/honey mixture. It's divine! It only gets better once you stir it into the oats! 


Chewy Chocolate Chip Granola Bars


Ingredients:


1/3 cup light brown sugar
1/4 cup honey
4 Tbsp butter 
2 cups quick cooking oats
1 cup crispy rice cereal
1 tsp vanilla bean paste or extract
1/3 cup mini chocolate chips


Directions:


1. Lightly grease an 8x8 inch baking dish (I used a little dab of butter). Set aside.
2. Stir oats and rice cereal together in a large bowl. 
3. In a small saucepan, melt butter, brown sugar, and honey together over medium heat until bubbling. Reduce heat to low and cook for 2 minutes, stirring frequently. Remove from heat and stir in vanilla extract.
4. Pour melted ingredients over oat mixture and stir very well to coat. Pour oat mixture into prepared baking dish and press down. Use a square piece of parchment or wax paper the size of the dish and your hand to ensure the ingredients are tightly compacted. Sprinkle the top evenly with mini chocolate chips and press lightly with the parchment paper until chips adhere. 
5. Cool at room temperature for 2 hours, or until chocolate chips are set. Cut into bars and wrap in plastic wrap. Store at room temperature for up to 5 days. (Believe me, they won't last that long!)

Chester and I did not let a single drop of the sticky, honey mixture go to waste! Chester licked this bowl for about 20 minutes, and I scraped the saucepan out with a spatula! We are total oinkers, but we just couldn't help ourselves! 


Thursday, March 1, 2012

Simply Sweet

These sugar cookies are more like a hybrid between a butter cookie and shortbread. They are not overly sweet, which is what I love about them. Not to mention they have a crisp, crumbly texture that melts in your mouth. Just be careful, though. You'll be eating them constantly. I ate them for breakfast the next day! This recipe is from my Mom and it's one of my favorites. I make them often throughout the year. They can also be sprinkled with colored sugar sprinkles for special occasions or holidays. They are perfect with a hot cup of tea!


Old-Fashioned Sugar Cookies


Ingredients:


1/2 cup oil
1/2 cup butter, at room temperature
1/2 cup granulated sugar
1/2 cup powdered sugar
1 egg
1 tsp vanilla bean paste or extract
2 1/2 cups flour
1/2 tsp salt
1 tsp baking soda
1/2 tsp cream of tartar


Directions:


1. Preheat oven to 350 degrees. 
2. Cream oil, butter, sugars, egg, and vanilla. Mix dry ingredients separately, then gradually add to wet ingredients and blend well. Chill until firm.
3. Roll dough into 1-inch balls and place on ungreased baking sheets.
4. Press down on dough with cookie press dipped in sugar. Don't be afraid to really press hard. You want it to be really flat so the cookie gets nice and crisp. The cookies puff up slightly while baking, so don't worry. You won't be stuck with flat pancakes! :)
5. Bake at 350 degrees for approximately 16 minutes, or until just starting to brown. Remove from baking sheets and cool on wire racks. 

Tuesday, February 28, 2012

Very Veggie-ful

Is it Winter? I'm confused! It's been almost 60 degrees every day and my little flowers are popping up everywhere outside. What's going on? WHO STOLE WINTER??? I keep thinking it's Spring already. That's ok, since the sooner Spring gets here, the sooner I can wear my new white skinny jeans and all my cute sandals! YAY! :) So since Spring will be here before we know it, here is a nice colorful quiche to put you in the mood for all the bright and beautiful colors of Spring! You can basically use any type of vegetable in this recipe. What ever you have on hand will work. This recipe makes 2 so invite some friends over and share nicely! 


Fresh Vegetable Quiche


Ingredients:


8 oz. mushrooms, sliced
1 small head of broccoli, cut into small florets
1/2 pint cherry tomatoes, halved
2 small zucchinis, diced
1/2 small onion, finely chopped
1 clove garlic, finely chopped
Salt and pepper to taste
2 pie crusts
12 large eggs
1/2 cup half-n-half
2 cups shredded mild cheddar cheese
2 tablespoons butter
1 tablespoon olive oil


Directions:
1. Preheat oven to 350 degrees. Place pie crusts in 2 pie plates and poke the bottoms with a fork. Bake for 15 minutes until just beginning to brown. Remove from oven and set aside.
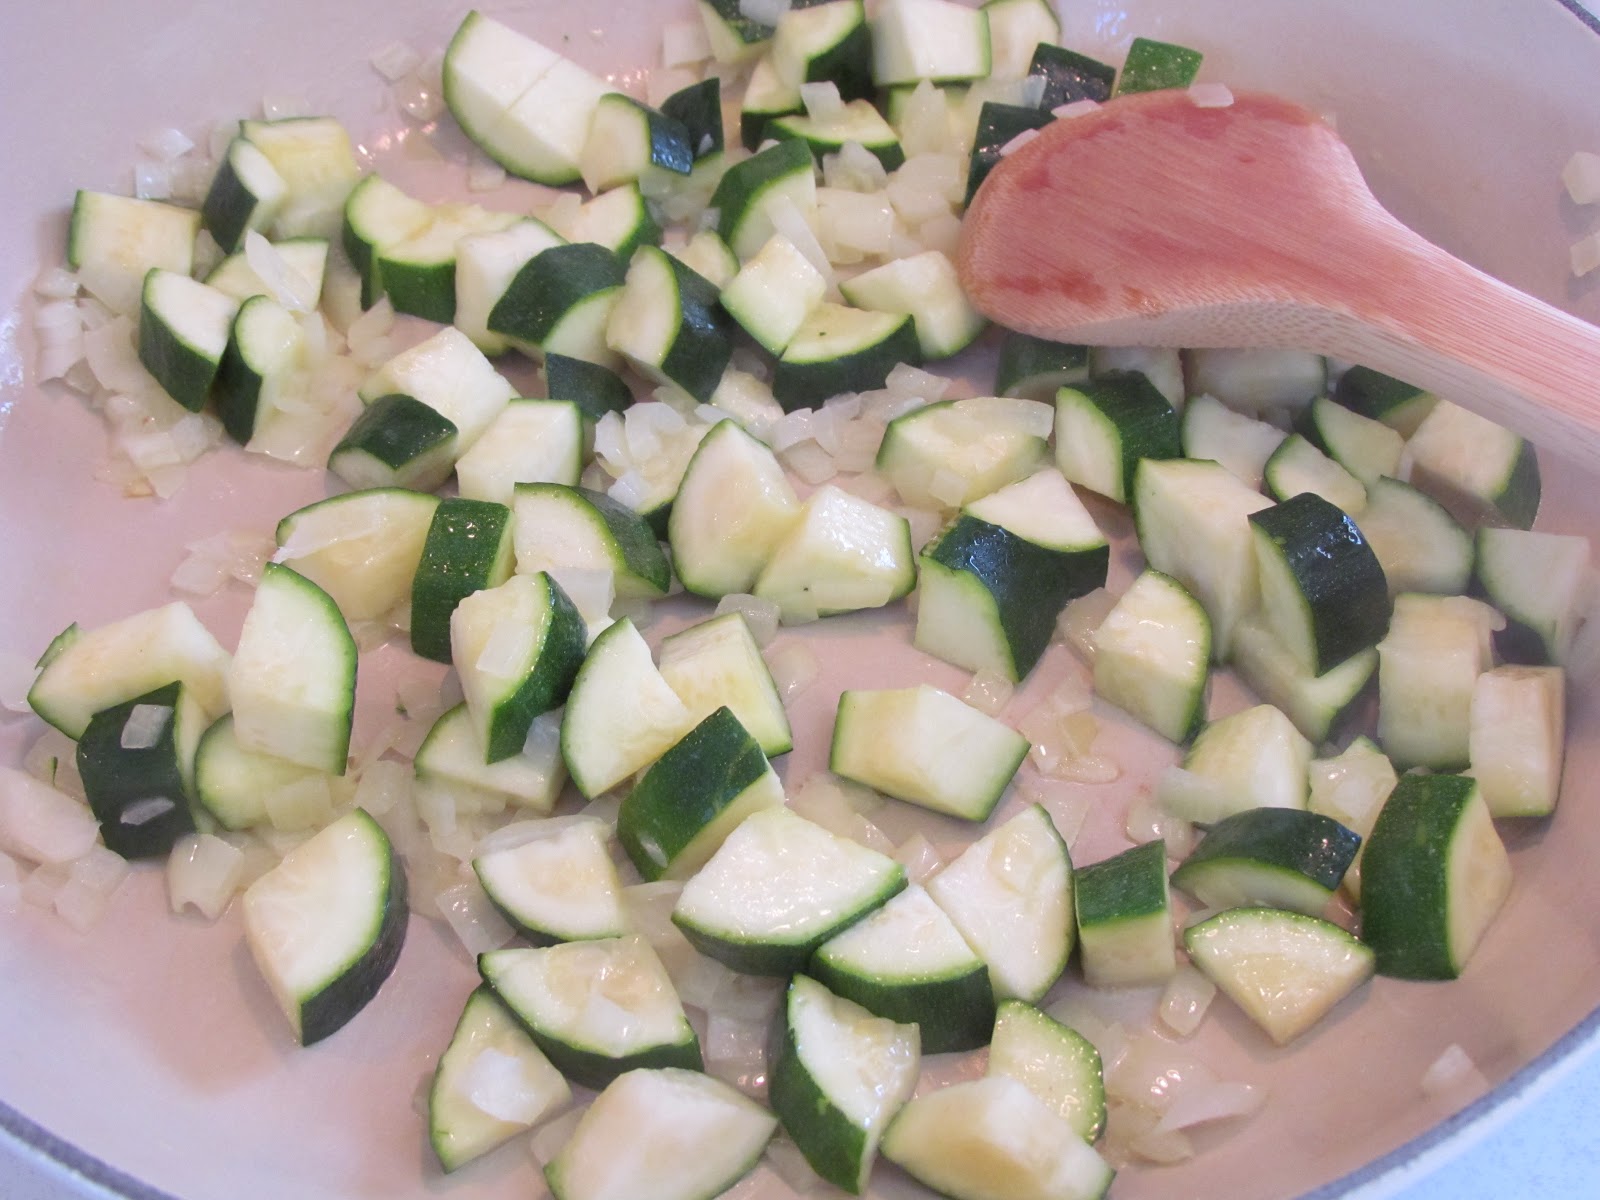
2. Melt 2 Tbsp butter in a saute pan over medium heat. Add chopped onion and cook until translucent and tender. Stir in garlic and zucchini and olive oil. Cook until zucchini begins to soften, but is not completely tender. 
3. Next, stir in broccoli and cook until it turns a bright green color. Add tomatoes and mushrooms and stir until mushrooms are just starting to soften. Season with salt and pepper to taste. (None of the veggies need to completely cook at this point. They will finish cooking as the quiche bakes in the oven.)
4. In a large bowl, whisk together eggs and half-n-half. Add half the veggie mixture to each pie crust.
5. Pour half the egg mixture evenly over the veggies in each pie crust.
6. Top each quiche with 1 cup shredded cheddar cheese.
7. Bake at 350 degrees for 40-45 minutes until set and cheese is melted. Let sit 10 minutes before slicing.